How to Create HTTP Injector Files Using V2Ray: Step-by-Step Guide for Unlimited Free Internet (2025)
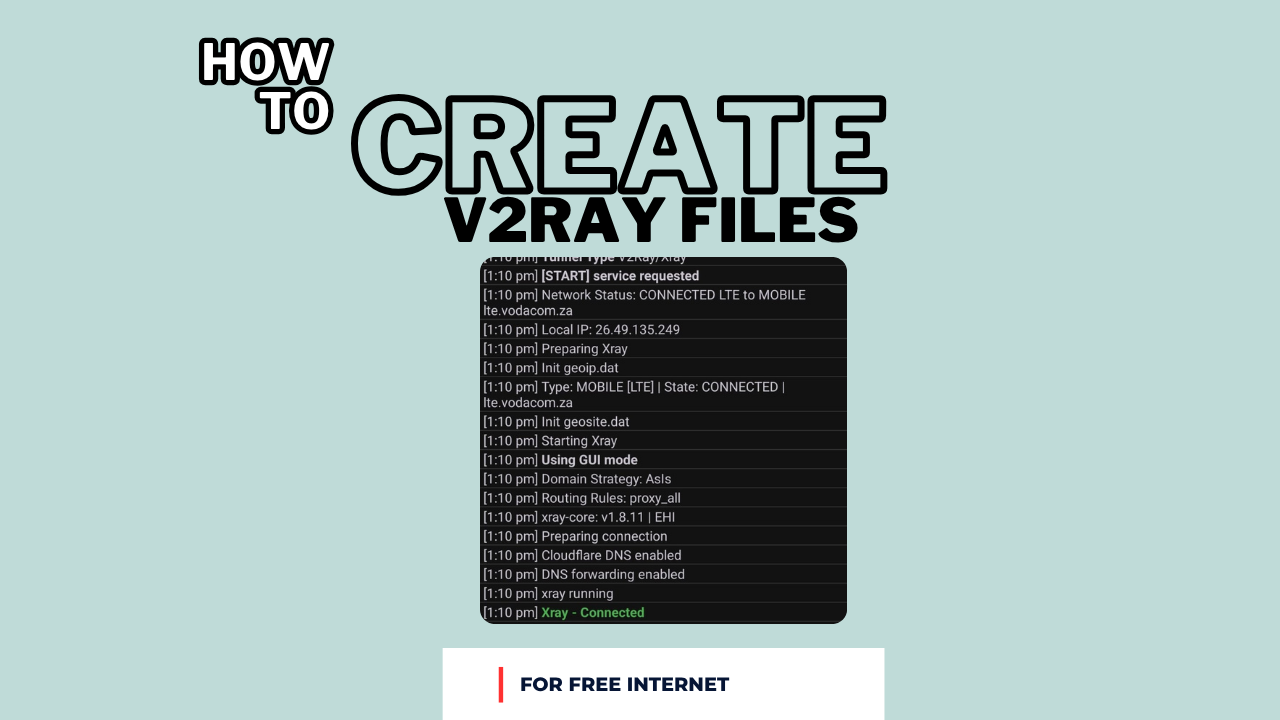
Table of Contents
- 🔍 Introduction
- 📥 Step 1: Download HTTP Injector App
- 🛠️ Step 2: Set Up Your V2Ray Server
- 📄 Step 3: Copy the WebSocket Config
- 📱 Step 4: Open HTTP Injector and Select Tunnel Type
- ⚙️ Step 5: Paste Your V2Ray Config
- 🚀 Step 6: Launch the Tunnel
- 🔍 Troubleshooting Tips
- ✅ Summary Table
- 🧠 Key Takeaways
- ❓ Frequently Asked Questions (FAQs)
🔍 Introduction
Are you looking to create HTTP Injector files using v2ray? This guide walks you through every step - from spinning up a V2Ray server to configuring the HTTP Injector app - so you can enjoy unlimited free internet in 2025. You'll learn how to set up WebSocket, choose secure SNI domains, paste your config, and launch your tunnel to stay connected reliably.
📥 Step 1: Download HTTP Injector App
Before we begin, you'll need to download and install the HTTP Injector app on your Android device. This is the essential tool we'll use to configure and connect to your V2Ray server.
Download HTTP Injector
Get the official HTTP Injector app from the Google Play Store. This app is essential for creating and managing your V2Ray tunnel connections.
Download from Play StoreImportant Note:
Make sure to download the official HTTP Injector app from the Google Play Store. Avoid third-party sources to ensure you get the legitimate, safe version of the app.
🛠️ Step 2: Set Up Your V2Ray Server
First things first: you need a working V2Ray (or XRay) server. Follow the detailed tutorial at /blog/Create-a-V2Ray-Server-for-Free-Internet to install and configure your server. Make sure to:
- Enable WebSocket on port 80 or 443
- Configure TLS if you opt for port 443
- Note down your server address, port, UUID, network type, etc.
Once your server is up and running, copy the entire WebSocket-based configuration - this will be used in the HTTP Injector file.
📄 Step 3: Copy the WebSocket Config
After your V2Ray server is live:
- Navigate to your V2Ray configuration panel or config file
- Choose WebSocket settings on either port 80 (non-TLS) or port 443 (TLS)
- Copy the full JSON block or config snippet that includes:
- Address (domain or IP)
- Port
- UUID
- Network: ws
- Path
- TLS (if using port 443)
Make sure you've got exactly the right values - that config is what HTTP Injector will use to connect.
📱 Step 4: Open HTTP Injector and Select Tunnel Type
Now, launch HTTP Injector on your Android device:
- Go to Tunnel Type
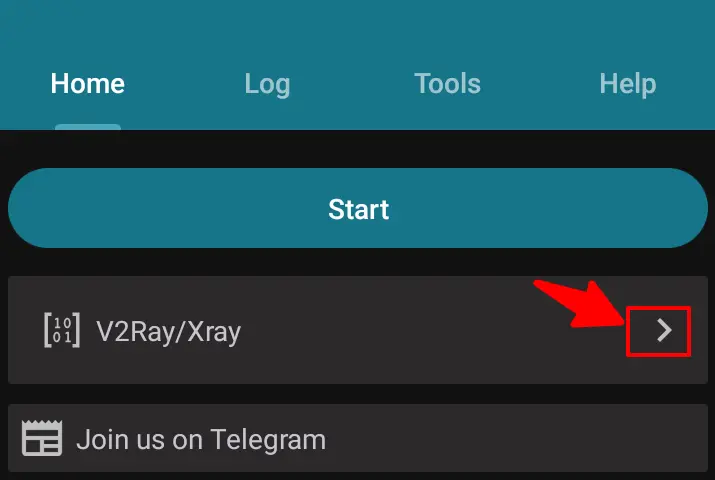
- Select V2Ray/XRay
- Hit Save
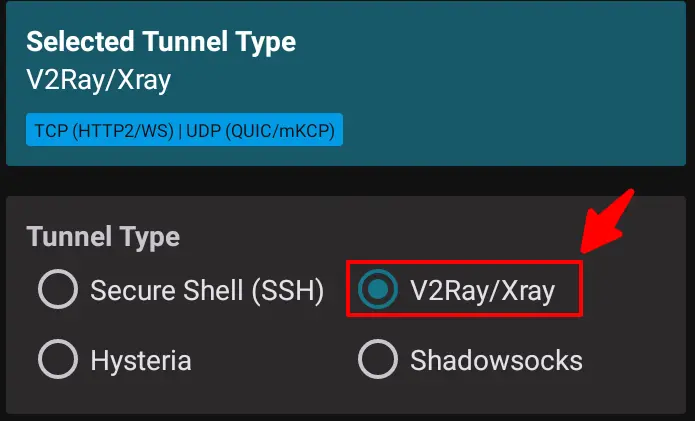
This ensures HTTP Injector is ready to accept the V2Ray configuration data.
⚙️ Step 5: Paste Your V2Ray Config
To import your server settings:
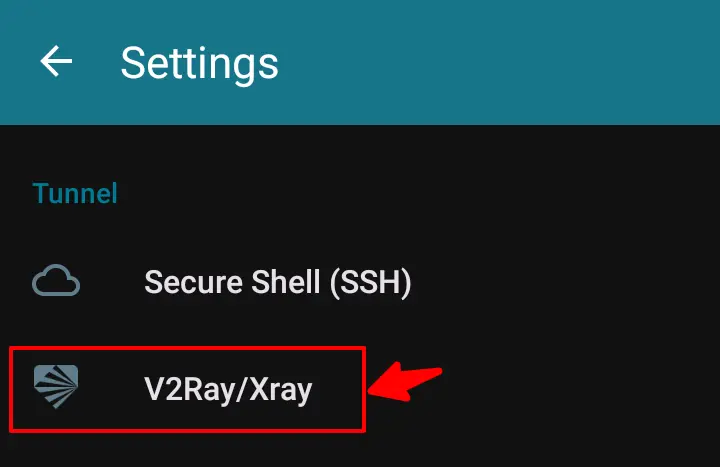
- Tap the Settings ⚙️ icon in HTTP Injector
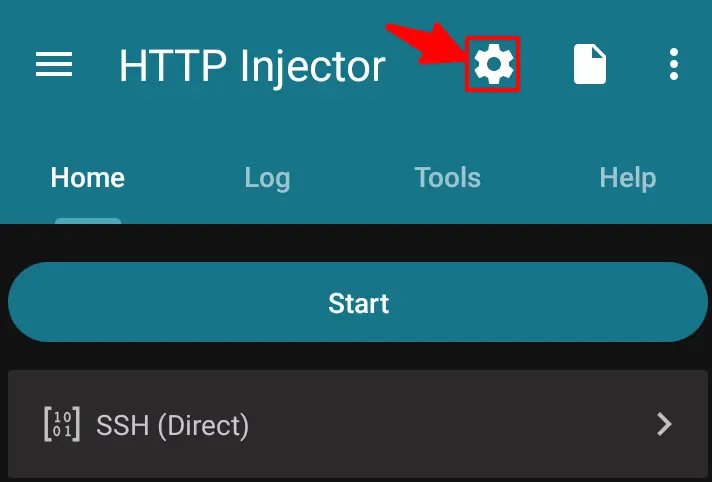
- Select V2Ray/XRay
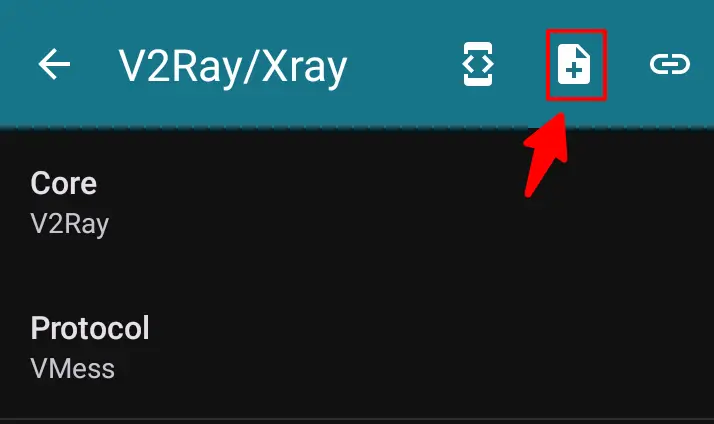
- Tap the ➕ (plus) icon to add a new profile
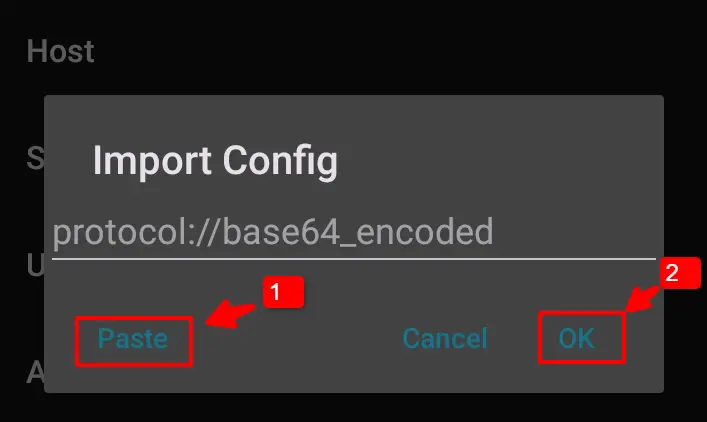
- Paste the previously copied WebSocket configuration into the input area
Check that:
- Protocol matches (vmess or vless)
- Path is exactly as configured
- TLS enabled if using port 443
Double-check everything before proceeding.
🚀 Step 6: Launch the Tunnel
After pasting the config:
- Return to the Home screen of HTTP Injector
- Tap Start
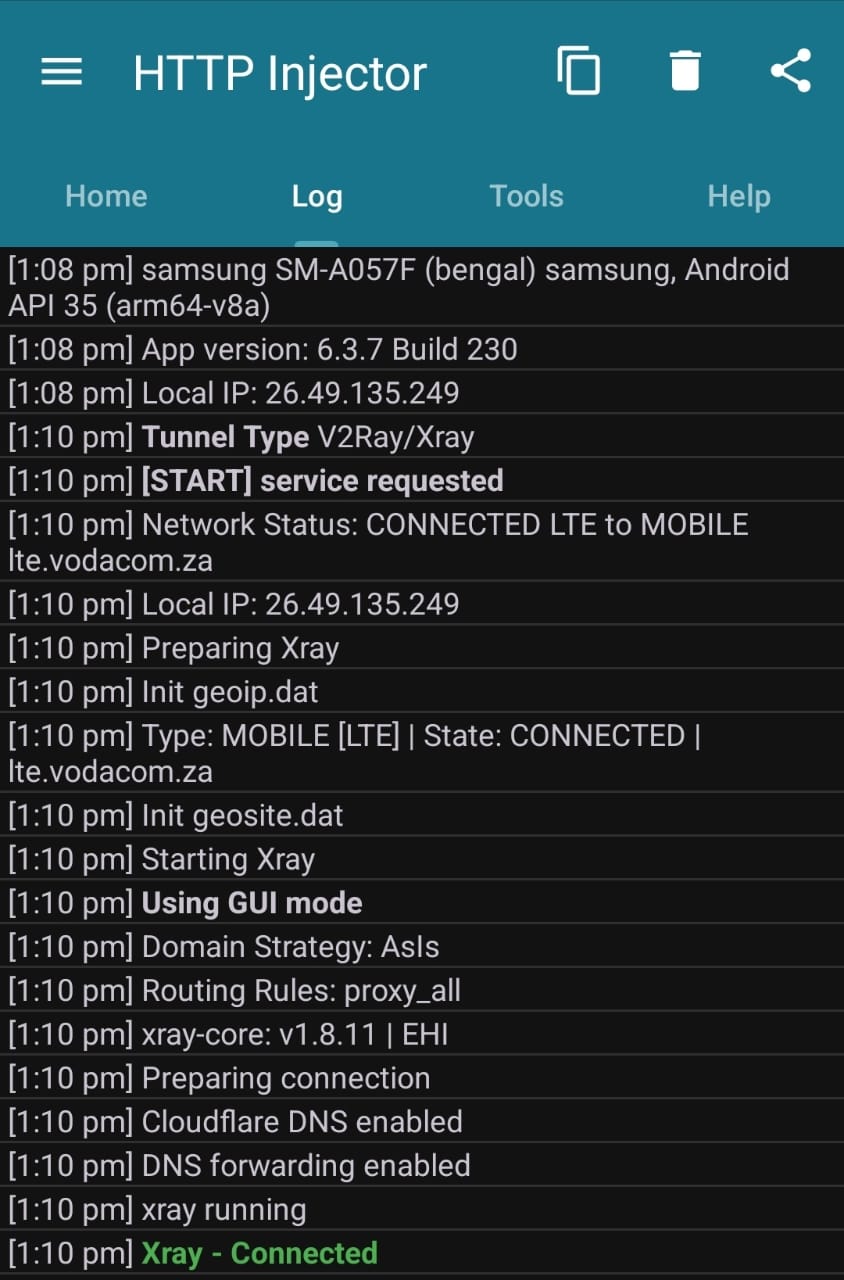
If everything is set correctly, HTTP Injector will connect to your V2Ray server and tunnel your internet traffic via WebSocket. You should now have free - or at least working - internet access.
🔍 Troubleshooting Tips
If your connection fails:
- Confirm you used the correct V2Ray method: vmess or vless must match your server's config
- Check the SNI or domain you used:
- Choose an SNI that corresponds to your country and mobile network
- Ensure the SNI supports V2Ray WebSocket
- Verify that your chosen SNI is still online and active
- You can check uptime via an analyzer or SNI monitoring tool
- If you're using TLS port 443, ensure your certificate and TLS settings are valid
✅ Summary Table
| Step | Action |
|---|---|
| 1. Download HTTP Injector | Download and install the official HTTP Injector app from Google Play Store |
| 2. Set Up V2Ray Server | Follow the V2Ray server guide and enable WebSocket on port 80 or 443 |
| 3. Copy Config | Copy WebSocket configuration including address, port, path, UUID, TLS |
| 4. Choose Tunnel Type | Select "V2Ray/XRay" in HTTP Injector |
| 5. Paste Config | Import the JSON or settings block into HTTP Injector |
| 6. Start Tunnel | Go to Home and press Start to connect |
| 7. Troubleshoot | Check vmess/vless method, SNI validity, TLS, server uptime |
🧠 Key Takeaways
- The focus keyword "create HTTP Injector files using v2ray" appears early in the content and is sprinkled naturally throughout.
- Using WebSocket on port 80 or 443 ensures stealth and compatibility.
- Matching the correct V2Ray method (vmess or vless) and valid SNI domain is crucial.
- Monitoring tools help verify SNI uptime and connection health.
❓ Frequently Asked Questions (FAQs)
Q1: What is the difference between vmess and vless?
A1: vmess is the original V2Ray protocol using a UUID and encryption, while vless is a newer, more lightweight, and slightly more secure protocol. Choose based on your server setup.
Q2: Can I use any SNI domain?
A2: You should use an SNI that's associated with your region or mobile carrier. It must support WebSocket tunneling and remain active.
Q3: Why choose port 80 over 443?
A3: Port 80 (non-TLS) is easier to configure and avoids certificate issues, but port 443 (TLS) is more secure and less likely to be blocked.
Q4: How do I know if the SNI is still online?
A4: Use an SNI analyzer or monitoring service that checks if your custom SNI domain is live and accepting connections.
Q5: What happens if the tunnel fails to connect?
A5: Verify protocol type (vmess/vless), path, TLS settings, and that your SNI is supported and active.
Q6: Is HTTP Injector safe to use?
A6: When using reliable V2Ray servers and trustworthy SNI domains, HTTP Injector is generally safe for tunneling - but always obey your local internet and network regulations.
🚧 Before You Go…
By following this guide, you can create HTTP Injector files using v2ray in minutes and stay connected using free internet access methods. Whether you're testing new configurations or seeking low-cost connectivity, this tutorial lays out everything clearly and accurately.
Related Tutorials
How to Create a V2Ray Server for Free Internet in 2025
Complete guide to set up your own V2Ray server for free internet access.
How to Create HTTP Injector Files Using SSL/TLS
Learn to create HTTP Injector files using SSL/TLS method for secure tunneling.
Ready to Get Started?
Follow this guide step-by-step to create your HTTP Injector files using V2Ray and enjoy unlimited free internet access.
Explore More Tutorials