How to Create NPV Tunnel Files Using V2Ray in 2026 (Working Method)
In this complete guide, you’ll learn how to create NPV Tunnel files using V2Ray in 2026. This beginner‑friendly tutorial explains every step, from creating a V2Ray server to importing and connecting your config in the NPV Tunnel app.
This tutorial follows a simple, step‑by‑step process and is suitable for beginners.
Disclaimer:
This tutorial is for educational purposes only. We are not responsible for any misuse of the information provided. Always use VPN and tunneling tools responsibly.
Requirements
Before you begin, make sure you have:
- A stable internet connection
- NPV Tunnel app installed
- Access to V2Ray account provider
- A working SNI (Server Name Indication)
We will use the following websites in this tutorial:
Create a V2Ray Account on SSHOcean
SSHOcean homepage showing Services → V2Ray WS
- Open your browser and go to sshocean.com.
- On the navigation menu, click on Services.
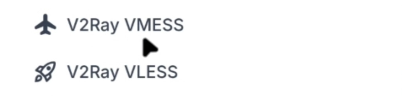
- Select V2Ray WS (WebSocket).
- Scroll through the list of available servers and select a country closest to your location.
- Make sure the server is online and click on Create Account.
Choose a Username and Get an SNI Host
SNIHost website showing the SNI Host Generator tool
- Enter any username of your choice on SSHOcean.
- Open a new tab and go to snihost.com.
- Go to Tools → SNI Host Generator.
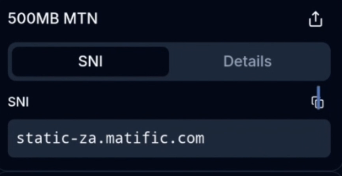
- Select your country name and copy any one SNI host.
- Go back to SSHOcean and paste the copied SNI into the SNI field.
Create the V2Ray Server
SSHOcean V2Ray account created with config options (Port 443 / Port 81)
- Leave all other settings as default and click Create Account.
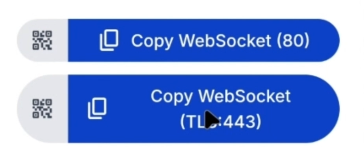
- Once created, copy the V2Ray config for Port 443 (SSL WebSocket).
Pro Tip:
We recommend using Port 443 for better stability, but Port 81 also works depending on your network.
Import the V2Ray Config into NPV Tunnel
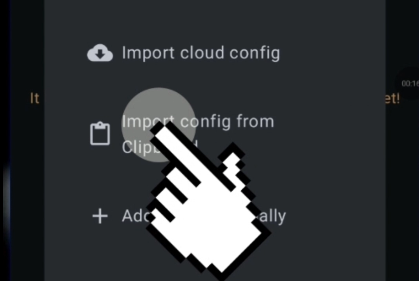
NPV Tunnel app showing Import from Clipboard → V2Ray Config
- Open the NPV Tunnel app on your device.
- Tap on Config → Add Configuration.
- Select Import from Clipboard → V2Ray Config.
Connect Using NPV Tunnel
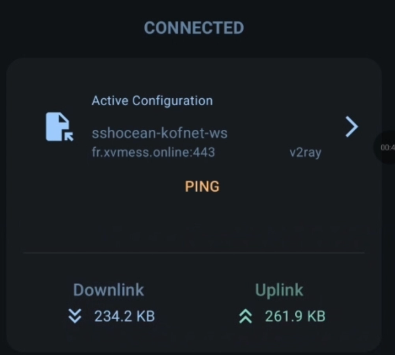
NPV Tunnel connected successfully screen
- Select the imported configuration.
- Go back to the Home screen.
- Tap the Power (Connect) icon and wait for the connection.
Frequently Asked Questions
Is NPV Tunnel still working in 2026?
Which V2Ray port is best for NPV Tunnel?
What should I do if the SNI does not work?
Is this method free to use?
Can I share my NPV Tunnel file?
Common Problems and Fixes
Connection Failed
- Double‑check if the server is online on SSHOcean.
- Make sure you imported the correct config (Port 443 or 81).
- Try changing the SNI host.
Slow Speed
- Choose a server closest to your country.
- Disconnect and reconnect to the network.
- Avoid peak hours when free servers are congested.
Security and Usage Tips
- Avoid sharing your config publicly to prevent abuse.
- Recreate your account once it expires.
- Always use updated versions of NPV Tunnel.
- Always have a backup server ready.
Why Use V2Ray with NPV Tunnel?
V2Ray offers better flexibility and security compared to traditional SSH tunneling. When combined with NPV Tunnel, it allows users to create stable connections using WebSocket and SSL, making it suitable for restricted networks. This is why V2Ray remains popular in 2026.
Final Words
You’ve successfully learned how to create NPV Tunnel files using V2Ray in 2026. From SSHOcean to SNIHost, the process is straightforward when done correctly.